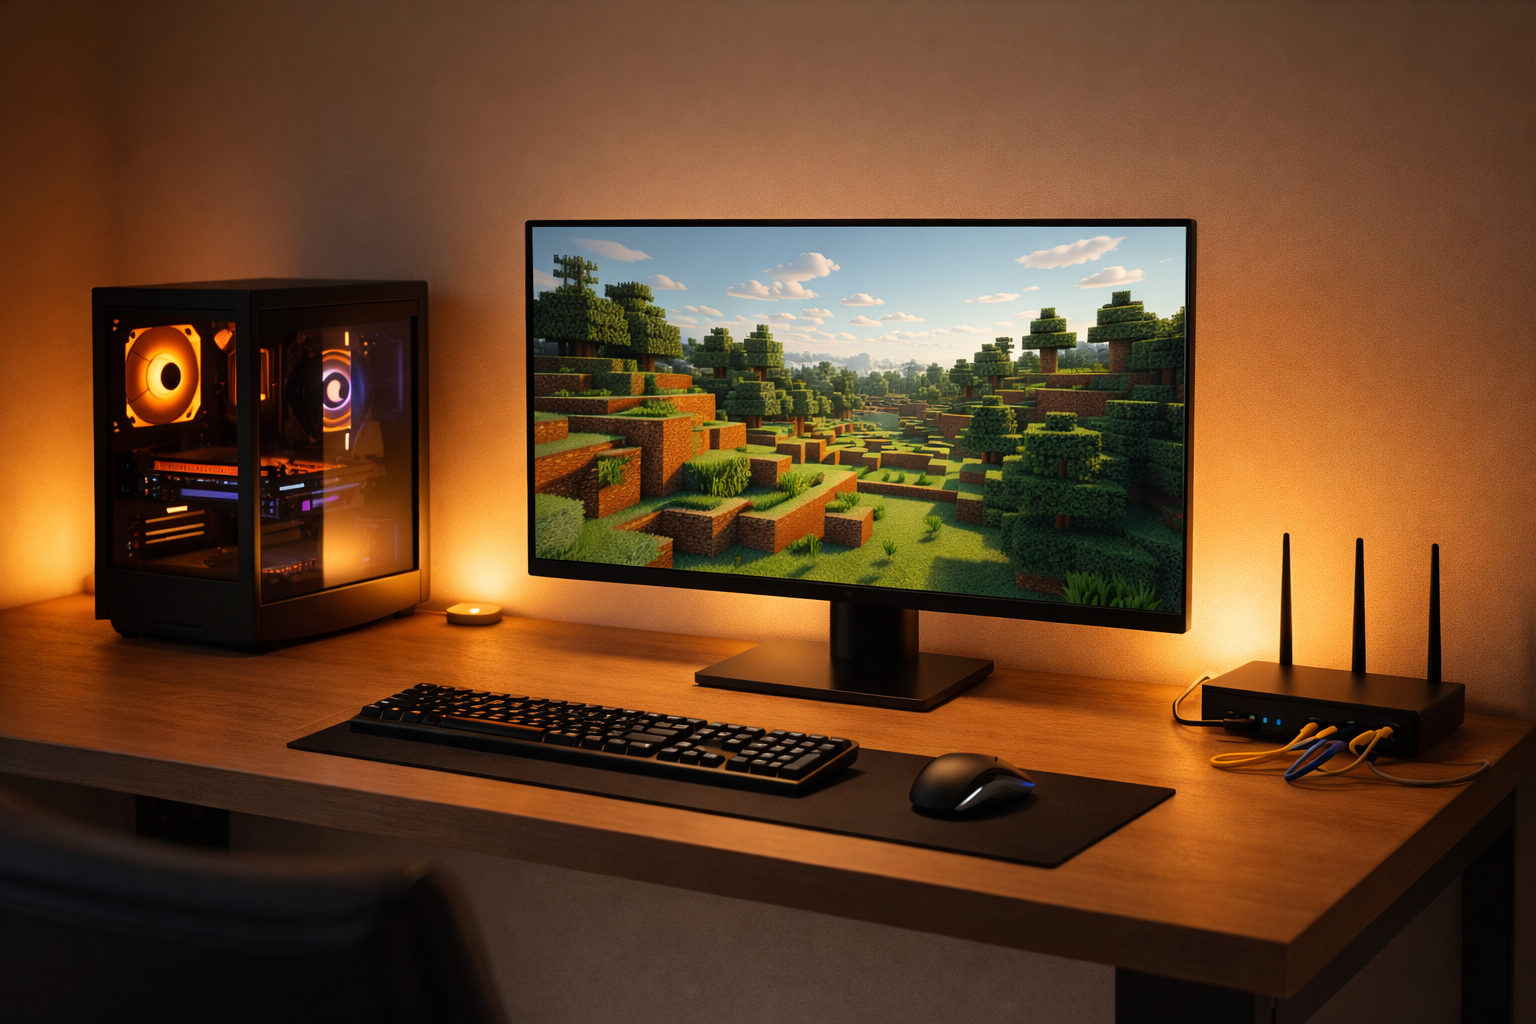
How to Host a Minecraft Server at Home (Beginner-Friendly 2026 Guide)
Hosting a Minecraft server at home lets you control your world, whitelist your friends, and avoid monthly hosting fees, but it also means your PC and internet connection become the “data center” for everyone who joins. This guide walks through everything you need: hardware specs, Java setup, official server files, router configuration, security tips, and performance tweaks so beginners can get a stable home server online in under an evening.
Is hosting a Minecraft server at home right for you?
Before changing router settings or downloading server jars, it helps to understand the trade‑offs of self‑hosting versus renting a server. Self‑hosting is usually cheaper and gives you full control, but your home upload speed, power reliability, and technical skills become the limiting factors.
Pros of hosting at home
- No monthly hosting bill; you reuse your existing PC or spare machine.
- Full control of files, mods, backups, and configuration.
- Great for small private servers with friends or family.
Cons compared to paid hosting
- Server goes offline whenever your PC or internet is down.
- Your home IP may be exposed unless you use a tunneling/VPN solution.
- Limited by your upload bandwidth and hardware; 24/7 uptime is harder to guarantee.
Minimum PC and network requirements
Minecraft servers are more CPU and RAM heavy than many players expect, especially with more than a handful of players or mods. Planning your hardware correctly prevents lag spikes and crashes later.
Basic hardware guidelines for a home server (Java Edition)
- 4 CPU cores (modern desktop CPU; 6+ cores recommended for modded servers).
- 8 GB RAM minimum on the machine, with at least 4 GB available for the server.
- SSD storage for faster world saves and chunk loading.
Network requirements
- Stable broadband connection with at least 10 Mbps upload for a small group of players.
- Wired Ethernet connection from your server PC to the router whenever possible.
- Ability to access your router admin panel for port forwarding.
Step 1 – Install Java and create a server folder
Java Edition servers rely on Java, so you need a compatible version installed before running the server jar.
- Download and install the latest supported Java (Temurin or official Oracle build) for your operating system.
- Create a dedicated folder on your PC, for example C:\Minecraft-Server or /home/user/minecraft-server.
- Keep all server files, world folders, and backups inside this single directory so organizing and upgrading is easier.
For the official Minecraft Java server file, always download the latest .jar from the official Minecraft site: https://www.minecraft.net/download/server
Step 2 – Download and run the official server jar
Once Java is installed and your folder is ready, you can pull in the server jar and generate the initial files.
- Save the server.jar into your server folder.
- Open Command Prompt (Windows) or Terminal (macOS/Linux) and navigate to that folder using cd.
- Run a command similar to: java -Xmx4G -Xms2G -jar server.jar nogui
The first run will create files like eula.txt, server.properties, and default world folders. Open eula.txt, change eula=false to eula=true, save it, then run the server command again to finish the initial setup.
Step 3 – Configure basic server settings
The server.properties file controls many aspects of your home Minecraft server, from difficulty to max players. Adjusting this file early prevents confusion later.
Useful settings to review:
- motd= – The message of the day shown in the server list.
- max-players= – Set this realistically according to your RAM and upload speed (for example, 5–10 for a typical home server).
- online-mode=true – Keep this true to use official authentication and reduce griefers.
- difficulty= – Choose from peaceful, easy, normal, or hard.
- pvp= – Enable or disable player‑versus‑player combat.
Restart the server after changes so they take effect. Keep a small notepad of what you changed and when; this makes troubleshooting much easier if something breaks later.
Step 4 – Port forwarding so friends can join
By default, your Minecraft server listens on port 25565, but people outside your home network cannot connect until you configure port forwarding on your router. This is the step that confuses most beginners.
Basic port‑forwarding workflow
- Find your internal IPv4 address and default gateway using ipconfig (Windows) or ifconfig (macOS/Linux).
- Open a browser and enter your router’s default gateway IP to log in to its admin panel.
- Locate the “Port Forwarding” or “Virtual Server” section (often under Advanced or NAT).
- Create a new rule: Name: Minecraft, Protocol: TCP/UDP or “Both”, Internal IP: your server PC’s IPv4 address, Port: 25565 for both internal and external ports
- Save the rule and restart your router if required.
Share your public IP address plus port (for example 123.45.67.89:25565) with your friends so they can connect, and consider using a dynamic DNS service if your ISP changes your IP often.
Security considerations for a home‑hosted server
Opening ports from your home network to the internet introduces risk, so basic security hygiene is essential. Treat your home Minecraft server like any other internet‑facing service.
Recommended safety practices:
- Keep your operating system, Java, and server software up to date with security patches.
- Use strong, unique passwords on your router and Wi‑Fi; never leave default credentials.
- Limit access with whitelist (whitelist.json) so only approved usernames can join.
- Avoid running random plugins or server jars from untrusted sources.
For additional protection, some players run the server behind a VPN or proxy so their real IP is not shared directly with others, which can reduce the risk of targeted attacks.
Optimizing performance and reducing lag
Even with good hardware, poorly tuned settings can cause lag, rubber‑banding, or timeouts on a home Minecraft server. A few quick optimizations usually make a big difference.
Practical performance tips:
- Allocate enough RAM but not all of it; leave memory for your operating system and any apps you use while playing.
- Use a wired Ethernet connection instead of Wi‑Fi on the server machine.
- Lower “simulation distance” and “view distance” in server.properties to reduce CPU load.
- Regularly trim unused worlds, logs, and backups to keep disk usage under control.
For larger or modded servers, consider switching to a performance‑optimized server jar such as Paper and disabling particularly heavy features like excessive mob farms or redstone clocks.
Running a modded or plugin‑based home server
Many players want more than vanilla Minecraft and eventually add plugins or mods for claims, homes, economy, or custom worlds. Modded servers need extra hardware headroom and slightly different setup steps.
Common options:
- Paper/Spigot for lightweight plugins, performance tweaks, and popular commands like homes, warps, and protection.
- Forge/Fabric for client‑side and server‑side mods, often requiring players to install the same modpack locally.
- A dedicated management panel (like Crafty or MineOS) to simplify backups, restarts, and multiple servers on one machine.
Always test new plugins or mods on a copy of your server first and keep frequent backups so you can roll back quickly if an update corrupts the world.
When to upgrade from home hosting to a paid server
Home hosting is ideal for learning and small friend‑only worlds, but over time you may hit limits on uptime, latency, or maximum players. Knowing when to migrate saves you and your community a lot of frustration.
Signs you might outgrow a home server:
- More than 10–15 players online regularly.
- Frequent complaints about lag, chunk loading, or timeouts despite optimizations.
- You need 24/7 uptime and automatic backups without relying on your personal PC.
At that point, migrating your world to a reputable Minecraft hosting provider, VPS, or dedicated server gives you better performance, DDoS protection, and professional infrastructure while keeping your configuration and world files intact.
Final checklist for your home Minecraft server
Use this short checklist when going live with your home‑hosted Minecraft server.
- Hardware meets minimum CPU, RAM, and SSD recommendations.
- Java installed and server.jar downloaded from the official Minecraft site.
- eula.txt accepted and server.properties configured for your group size.
- Port 25565 forwarded correctly to your server PC’s internal IP.
- Whitelist enabled and strong passwords set on router and Wi‑Fi.
- Regular backup routine in place (local or off‑site).
If everything on this list is checked off, your home Minecraft server is ready for friends to join and explore.
Content published by UpbeatUptake.com
About Us
Upbeat Uptake
Curated Insights and Updates
Hello, we are Upbeat Uptake, a simple blog focused on sharing clear ideas, useful updates and fresh perspectives. Our goal is to make information easy to understand and enjoyable to read.
We cover topics like technology, education, exams, gaming and current affairs, with an emphasis on clarity and relevance. Every post is created to inform, inspire and help you stay updated without unnecessary noise.
Follow Us
Social channels coming soon. Stay tuned for updates.
Leave a Reply