How to Install Hytale Mods on Server: Complete Guide 2026
Introduction
Learning how to install Hytale mods on a server is essential for administrators who want to customize gameplay, add new mechanics, or build unique community experiences. Unlike traditional games that rely on client-side mod loaders, Hytale uses a fully server-side modding architecture. This means all mods run on the server and automatically sync with players when they join. In this guide, you’ll learn how to install Hytale mods on a server step by step in 2026, including system requirements, manual installation, managed hosting panels, configuration, troubleshooting, and best practices for long-term stability.
Quick Summary Box
- Hytale server mods run entirely server-side
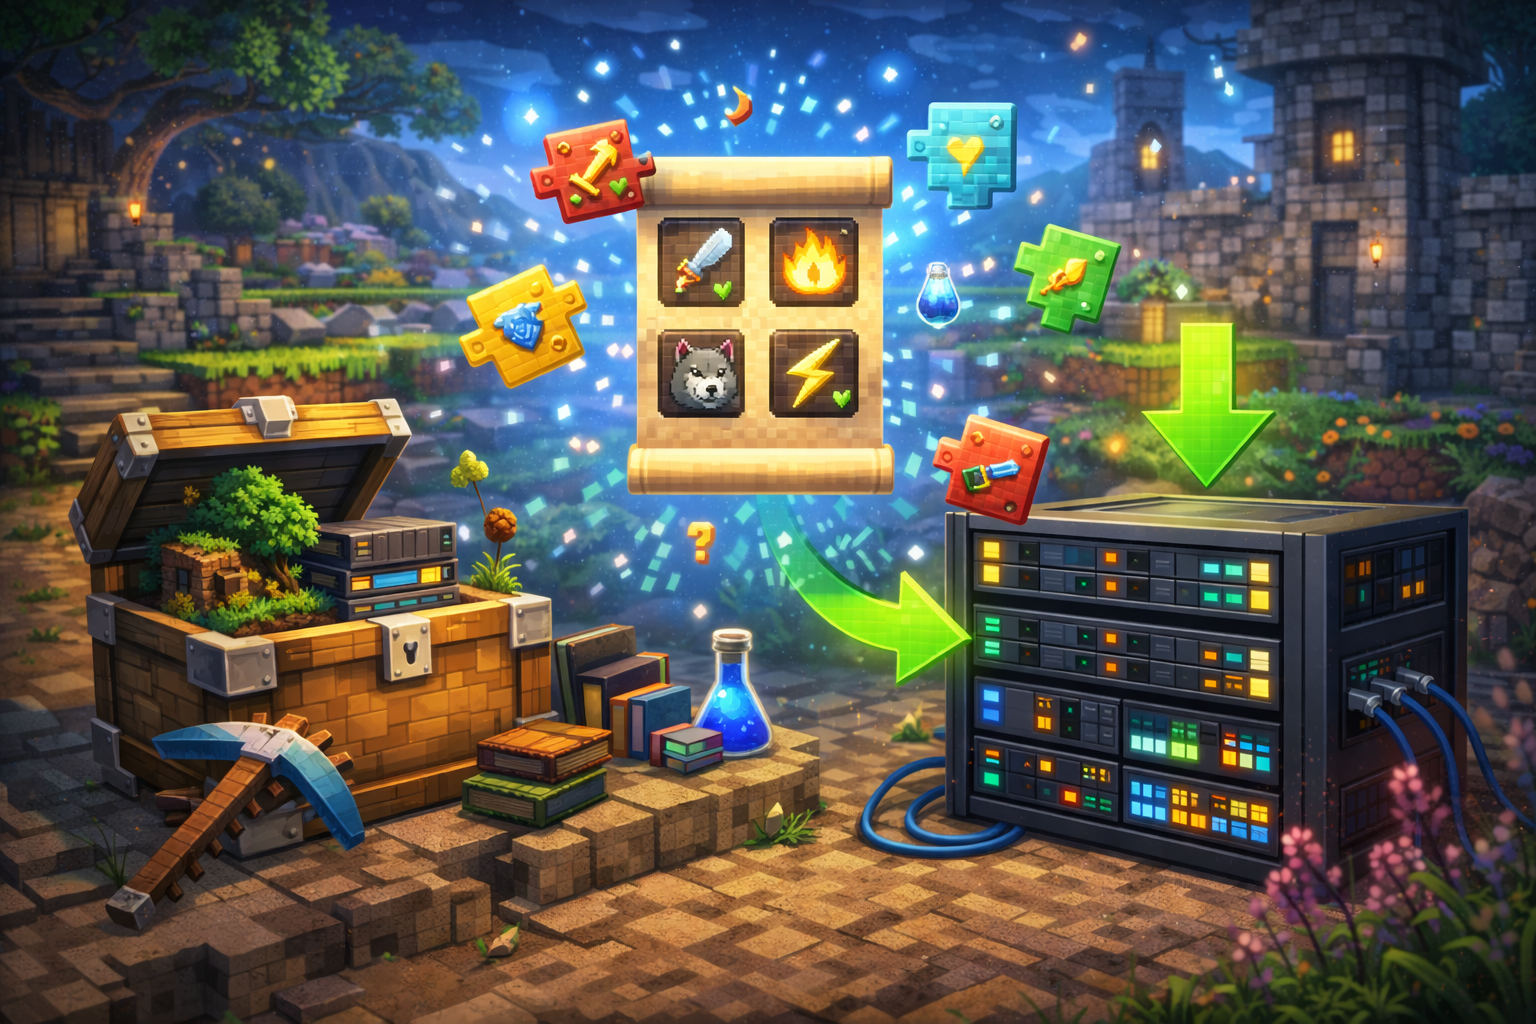
- Mods are installed by placing .jar or .zip files in the /mods/ folder
- Always stop the server before installing or updating mods
- Players do not install mods manually when joining servers
- Backups and version compatibility checks are critical
Understanding Hytale’s Server-Side Modding System
Hytale’s modding system is fundamentally different from older sandbox games. All supported modifications execute on the server, not on the player’s client. When a player connects, the server automatically transmits required assets such as models, textures, sounds, and configuration data.
Key Benefits for Server Owners
- Zero client-side setup for players
- Perfect version consistency across all users
- Strong protection against cheating and malicious mods
- Easier updates managed in one location
Important Constraints
- No standalone client-side mods or shaders
- Mods are tied to servers, not player accounts
- Singleplayer modding still runs through a local server
Understanding this model is critical before installing any server mods.
Types of Hytale Server Mods
Hytale organizes mods into four official categories. Knowing the difference ensures correct installation and compatibility.
Server Plugins (Java .jar Files)
Server plugins are the most powerful mod type. They allow:
- Custom minigames and game modes
- Economy and progression systems
- Commands, permissions, and admin tools
- Deep gameplay logic changes
Plugins require Java 25 and server-side installation.
Data Asset Packs (.zip Files)
Asset packs modify game content using JSON and assets:
- Blocks, items, and crafting recipes
- NPC behaviors and loot tables
- World generation parameters
These packs are often created using the Asset Editor.
Art Assets
Art assets include models, textures, animations, and sounds. They are usually bundled inside asset packs and synced automatically to players.
Bootstrap / Early Plugins (Advanced)
Early plugins modify low-level engine behavior using bytecode transformation. These should only be used by advanced developers, as they can destabilize servers if misused.
System Requirements for Modded Hytale Servers
Running mods increases server load. Ensure your system meets minimum requirements.
Recommended Server Hardware
| Component | Minimum | Recommended |
|---|---|---|
| CPU | Quad-core | Modern high-frequency CPU |
| RAM | 4 GB | 8–16 GB for modded servers |
| Storage | SSD | NVMe SSD |
| Architecture | x64 / arm64 | x64 |
| Java | Java 25 | Java 25 |
Modded servers consume more memory and CPU due to additional logic, entities, and world systems.
Step-by-Step: Installing Mods on a Self-Hosted Hytale Server
This method applies to servers hosted on your own hardware or a VPS.
Step 1: Stop the Server
Never install mods while the server is running.
Use the server console command:
stop
Or terminate the process cleanly.
Step 2: Locate or Create the Mods Folder
Navigate to your server root directory:
HytaleServer/
HytaleServer.jar
Assets.zip
config.json
mods/
universe/
logs/
If the mods folder does not exist, create it manually.
Step 3: Download Mods from Trusted Sources
Only download mods from official or trusted sources:
- CurseForge (official distribution partner)
- Verified GitHub repositories
- Official Hytale community channels
Avoid random mirrors or reuploads to reduce security risks.
Step 4: Add Mods to the Mods Folder
- Place .jar and .zip files directly into /mods/
- Do not extract mod files
- Do not place mods in subfolders
- Avoid special characters in filenames
Step 5: Start the Server
Launch the server normally. Hytale automatically detects and loads all mods in the /mods/ folder.
Step 6: Verify Successful Installation
Check the server console and logs:
- Look for confirmation messages during startup
- Review /logs/latest.log for errors
- Ensure no dependency or version warnings appear
Installing Mods Using Managed Hosting Panels
Many hosting providers simplify mod installation through control panels.
Typical Panel Workflow
- Log into your hosting control panel
- Open the File Manager or Mods section
- Upload mod files
- Confirm files are placed in /mods/
- Restart the server
Some providers offer one-click mod installs, but manual verification is still recommended.
Version Compatibility and Dependencies
Hytale Version Matching
Mods must match your server’s Hytale version. Early Access updates can break mods.
Best practices:
- Read mod descriptions carefully
- Delay server updates until mods are updated
- Subscribe to mod update notifications
Dependency Management
Some mods require other mods to function:
- Install dependencies first
- Missing dependencies cause startup failures
- Check logs for “missing dependency” errors
Configuring Installed Mods
Many mods include JSON configuration files.
Configuration File Locations
- Dedicated servers:
/mods/ModName/config.json - Singleplayer worlds:
UserData/saves/WorldName/mods/ModName/
Safe Configuration Editing
- Stop the server
- Open the JSON file in a text editor
- Edit values carefully (valid JSON syntax required)
- Save changes
- Restart the server
Never edit config files while the server is running.
Managing, Updating, and Removing Mods
Removing Mods Safely
- Stop the server
- Delete the mod file from /mods/
- Restart the server
Warning: Removing mods that add world data can corrupt saves. Always back up first.
Updating Mods
- Stop the server
- Remove the old mod version
- Download the updated version
- Place it in /mods/
- Review changelogs
- Restart and test
Test updates on a backup server whenever possible.
Backup Best Practices
- Back up the entire server directory
- Back up the /universe/ folder separately
- Store backups off-site
- Automate backups if possible
Troubleshooting Common Server Mod Issues
Server Won’t Start After Installing a Mod
- Check /logs/latest.log
- Remove the most recent mod
- Verify Java 25 is installed
- Confirm version compatibility
Mod Not Loading
- Ensure the file is in /mods/, not a subfolder
- Confirm file format is .jar or .zip
- Re-download corrupted files
Performance Problems After Installing Mods
- Reduce view distance
- Allocate more RAM
- Remove unnecessary mods
- Monitor CPU and memory usage
Tips, Common Mistakes, and Optimization
Best Practices
- Install mods one at a time
- Test on staging servers
- Keep detailed mod and version records
- Communicate changes to players
Common Mistakes to Avoid
- Extracting mod files
- Editing files while the server is running
- Ignoring dependency requirements
- Skipping backups
Performance Optimization Tips
- Limit heavy world-generation mods
- Reduce entity counts
- Use SSD or NVMe storage
- Schedule periodic restarts
FAQ Section
Do players need to install mods to join my server?
No. The server automatically sends all required assets to players.
Where do server mods go?
All server mods are placed directly in the /mods/ folder of the server root directory.
Can I use client-side mods on Hytale servers?
No. Hytale does not support standalone client-side mods.
Why did my server crash after installing a mod?
Common causes include version mismatches, missing dependencies, or corrupted downloads.
How many mods can a Hytale server run?
It depends on hardware and mod complexity, but fewer than 10 major gameplay mods is a safe starting point.
Conclusion
Installing mods on a Hytale server in 2026 is powerful, secure, and far simpler for players than traditional modding systems. By understanding Hytale’s server-side architecture, following correct installation steps, and practicing disciplined backup and testing workflows, server owners can safely deliver rich, customized experiences. Start with small quality-of-life mods, monitor performance carefully, and expand your server’s mod stack as your confidence and infrastructure grow.
Published by UpbeatUptake.com
About Us
Upbeat Uptake
Curated Insights and Updates
Hello, we are Upbeat Uptake, a simple blog focused on sharing clear ideas, useful updates and fresh perspectives. Our goal is to make information easy to understand and enjoyable to read.
We cover topics like technology, education, exams, gaming and current affairs, with an emphasis on clarity and relevance. Every post is created to inform, inspire and help you stay updated without unnecessary noise.
Follow Us
Social channels coming soon. Stay tuned for updates.
Leave a Reply