How to Whitelist a Minecraft Server: Guide 2026
Introduction
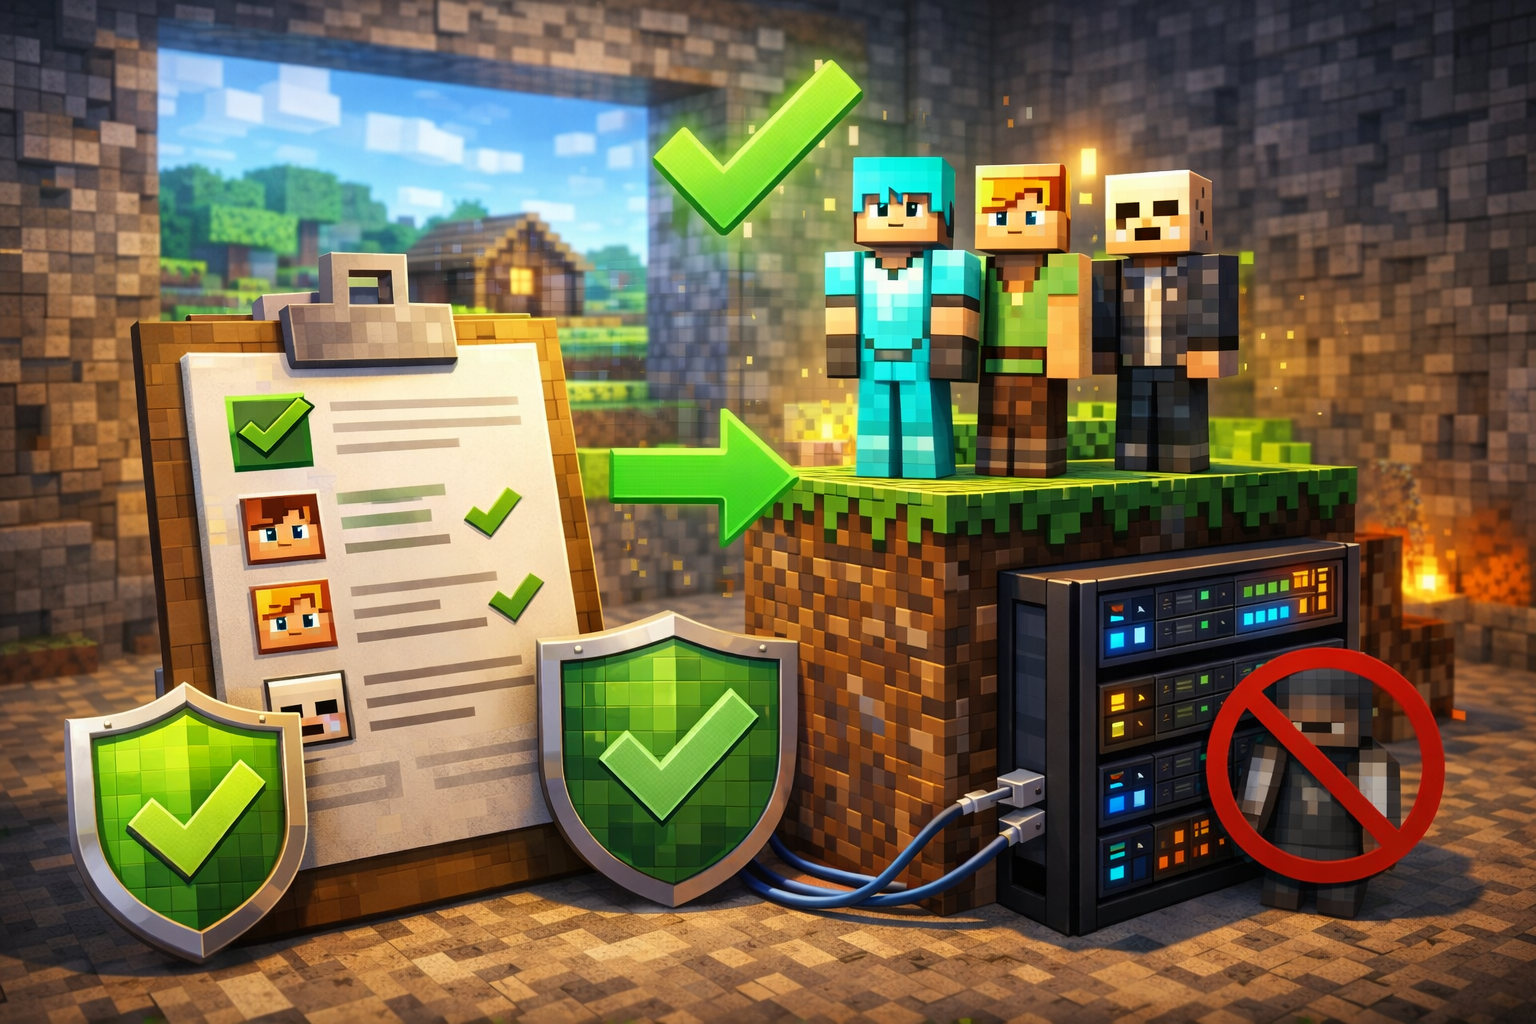
Learning how to whitelist a Minecraft server is essential if you want to protect your world from griefers, unwanted players, and unauthorized access. By default, Minecraft servers allow anyone who knows the IP address to join, which can quickly lead to spam, hacking attempts, or destroyed builds. Whitelisting solves this problem by restricting access to approved players only.
In this guide, you’ll learn exactly how to whitelist a Minecraft server on both Java and Bedrock editions. We’ll cover commands, configuration files, crossplay setups, common errors, and best practices so you can maintain a secure, private, and well-managed server environment in 2026.
Quick Summary Box
- A Minecraft whitelist restricts server access to approved players only
- Java Edition uses whitelist, while Bedrock uses allowlist
- Whitelisting can be enabled instantly with console or in-game commands
- Advanced control is available through configuration files and JSON editing
- Running the server in online mode is critical for real security
What Is a Minecraft Server Whitelist?
A Minecraft server whitelist is a built-in access control system that allows only specific player accounts to join your server. When enabled, the server checks each incoming connection against an approved list of usernames and UUIDs.
If a player is not on the list, they are immediately disconnected with a “You are not whitelisted on this server” message. This process happens before the player fully loads into the world, preventing griefing or abuse.
The whitelist data is stored in a whitelist.json file within the server directory. Each entry contains a player’s username and UUID, ensuring the whitelist remains valid even if a player changes their Minecraft name.
Whitelist vs Allowlist: What’s the Difference?
Whitelist and allowlist refer to the same feature with different terminology.
- Java Edition uses the term whitelist
- Bedrock Edition uses the term allowlist
Functionally, both systems work identically. The difference exists purely for terminology consistency. Commands, behavior, and security impact are the same.
How to Enable Whitelist on Minecraft Java Edition
Method 1: Using Commands (Recommended)
This is the fastest and safest way to enable whitelisting without restarting the server.
Step 1: Access the Server Console
You can run commands either:
- In-game (with operator permissions), or
- Directly in the server console or hosting control panel
Step 2: Enable the Whitelist
Run the following command:
/whitelist on
The whitelist activates immediately.
Step 3: Add Players
Add approved players using:
/whitelist add username
Replace username with the exact Minecraft Java username. The server automatically retrieves the correct UUID.
Java Whitelist Command Reference
| Command | Function |
|---|---|
| /whitelist on | Enables whitelist protection |
| /whitelist off | Disables whitelist |
| /whitelist add username | Adds a player |
| /whitelist remove username | Removes a player |
| /whitelist list | Shows all whitelisted players |
| /whitelist reload | Reloads whitelist from disk |
All commands require operator permissions.
Method 2: Editing server.properties (Manual)
This method requires a server restart but gives direct configuration control.
Step 1: Stop the Server
Always stop the server before editing configuration files.
Step 2: Open server.properties
Locate the server.properties file in the server root directory.
Step 3: Enable Whitelist
Find:
white-list=false
Change it to:
white-list=true
Step 4: Save and Restart
Restart the server, then add players using /whitelist add.
How to Enable Allowlist on Minecraft Bedrock Edition
Bedrock Edition uses allowlist commands but follows the same logic.
Using Server Properties (Recommended)
Step 1: Stop the Server
Stop the Bedrock server from the control panel.
Step 2: Enable Allowlist
Locate the Allow List setting and set it to true.
Step 3: Restart the Server
Save changes and restart.
Step 4: Add Players
Use the console command:
allowlist add username
Bedrock Allowlist Commands
| Command | Description |
|---|---|
| allowlist on | Enables allowlist |
| allowlist off | Disables allowlist |
| allowlist add username | Adds a player |
| allowlist remove username | Removes a player |
| allowlist list | Displays allowed players |
| allowlist reload | Reloads allowlist |
Important: Bedrock players must join at least once before they can be added, or the server must be running when the command is executed.
How to Manually Edit whitelist.json
Manual editing is useful for bulk additions or advanced server setups.
whitelist.json Structure
Each player entry looks like this:
[
{
“uuid”: “xxxxxxxx-xxxx-xxxx-xxxx-xxxxxxxxxxxx”,
“name”: “player1”
}
]
Steps to Edit Safely
- Stop the server
- Locate
whitelist.jsonin the server directory - Add new player entries using valid UUIDs
- Save the file
- Restart the server or run
/whitelist reload
Always back up the file before editing.
Whitelisting Crossplay Servers (Java + Bedrock)
If your server uses Java–Bedrock crossplay, additional steps are required.
Using Floodgate Commands
For Bedrock players joining a Java server:
/fwhitelist add username
Do not include any prefixes when using Floodgate commands.
Alternative Method Without Floodgate
- Disable whitelist temporarily
- Let the Bedrock player join
- Add them using the prefixed username
- Re-enable whitelist
This approach is less reliable and not recommended for long-term management.
Common Whitelist Issues and How to Fix Them
“Player Not Found” Error
Causes
- Player has never joined
- Incorrect username spelling
- Crossplay setup mismatch
Solutions
- Double-check capitalization
- Allow the player to join once
- Use Floodgate commands for Bedrock
Whitelist Changes Not Saving
Causes
- Incorrect file permissions
- Editing the wrong directory
- Conflicting plugins
Solutions
- Verify write permissions
- Confirm correct server instance
- Disable conflicting plugins
Whitelisted Player Still Can’t Join
Fixes
- Run
/whitelist reload - Verify whitelist is enabled
- Check UUID accuracy
- Confirm username spelling
Wrong UUIDs in whitelist.json
This commonly happens on offline-mode servers.
Solution
- Enable
online-mode=true - Regenerate UUIDs from authenticated joins
Non-Whitelisted Players Staying Online
Enable forced enforcement:
enforce-whitelist=true
This immediately removes non-approved players.
Tips, Common Mistakes, and Optimization
Security Best Practices
- Run the server in online mode
- Limit operator permissions
- Use automated backups
- Enable DDoS protection
- Combine whitelist with anti-grief plugins
Common Mistakes to Avoid
- Forgetting to enable whitelist after adding players
- Mixing Java and Bedrock commands
- Editing files without stopping the server
- Running whitelist on cracked servers without authentication
- Granting OP access too freely
When Not to Use a Whitelist
Whitelisting may not be ideal for:
- Public minigame servers
- Open community hubs
- Event-based servers with rotating players
In these cases, permission systems and moderation tools work better.
FAQ
Can I whitelist players before they join?
Yes. Use /whitelist add username and the server will retrieve their UUID automatically.
What happens when I enable whitelist?
Non-whitelisted players are blocked from joining. Existing players remain unless enforcement is enabled.
Does whitelisting affect performance?
No. It only checks credentials during connection attempts.
Can regular players invite others?
No. Only operators can modify the whitelist.
How do I disable the whitelist?
Use /whitelist off or set white-list=false and restart the server.
Conclusion
Whitelisting your Minecraft server is one of the most effective ways to protect your world and control who can access it. By enabling whitelist or allowlist features, using correct commands, and following security best practices, you can maintain a stable, private, and enjoyable multiplayer environment.
Whether you’re hosting a small server for friends or managing a growing community, proper whitelist management gives you full control over player access and server integrity.
Published by UpbeatUptake.com
About Us
Upbeat Uptake
Curated Insights and Updates
Hello, we are Upbeat Uptake, a simple blog focused on sharing clear ideas, useful updates and fresh perspectives. Our goal is to make information easy to understand and enjoyable to read.
We cover topics like technology, education, exams, gaming and current affairs, with an emphasis on clarity and relevance. Every post is created to inform, inspire and help you stay updated without unnecessary noise.
Follow Us
Social channels coming soon. Stay tuned for updates.
Leave a Reply